Showing posts with label Pie. Show all posts

Thursday, December 13, 2012

Pumpkin Pie

If you follow this blog, you know that I am all about fresh food, made by hand, in the kitchen, at home.  I avoid purchasing prepared foods, except condiments, whenever possible.  But sometimes, you have to buy it, instead of making it.  That is the case with my pie crust.  I cheated and bought the Pillsbury crusts that are in a box.  The flavor is not as good as my homemade crust but it is still good.
This recipe makes enough filling for a deep dish pie or two of the little disposable pie tins.  If you make a regular size pie, like I did, there will be extra filling.  Just cook the rest of the filling in ramekins for a little taste test snack.

Friday, August 24, 2012

Fried Nectarine Pies

My mom would make fried peach pies and I could hardly wait for peach season.  These are nectarine fried pies that I made with frozen pie crust.  While these are very delicious, I recommend that you bake the pies instead of frying them, if you are using a pre made pie crust.  Why, you ask? Because of the amount of fat used to make these crusts will leave them a too "fried"..

Sunday, July 15, 2012

Tomato Pie


A tomato pie can be sweet or savory.  I am not a fan of a sweet tomato pie so you can guess what this pie is.  Made with garden ingredients this is a great addition to a brunch  menu and makes perfect summer meal.  Add a little Rose' and it can the perfect ending to a perfect day. Use olive oil in place of bacon drippings and it is Vegan.  Add some bacon or pepperoni and make it a heartier dish.  This is very versatile.

Thursday, July 12, 2012

Texas Peach Pie

It is peach season in Texas.  The early peaches are ripe and sweet.  I made this peach pie this year because  it was time to revisit the Mile High Peach Pie. I use a basic oil pastry recipe because it is quick and easy.  Sometimes, I have to add a little water to it and sometimes I do not.  You can use any pie crust that you like.  I do use premade pie crusts from the refrigerator section of the grocery store, if I am short on time, or just do not feel like rolling out a crust.  But I have to admit that a homemade pie crust is so much better.  Mine does not look as pretty as a bought crust but it tastes so much better.  Either way, I hope that you  take the time to make this pie~it will make you happy all over!

Sunday, February 26, 2012

Margarita Pie

This started as my mom's lemon pie, which she made with sour oranges, also called Seville Oranges.  We had a sour orange tree in our front yard when I was growing up and we used the juice from the oranges like everyone else used lemon juice.  The orange-ade from the juice was such a summertime treat.  My mom would harvest and juice the oranges and then freeze the juice.  Then we had "lemon" juice all year long. 
My sister had sent me my mother's recipe a couple of months ago.  I baked the pie, but when I served it, both the custard and meringue wept. (Runny).  So while I was driving today, I thought about making another pie only reducing the liquid and using the Margarita Mix that I had in the bar.  This is the best citrus pie I have ever eaten.   My son suggested the topping, so I went with it.  When experimenting, complete the task.  So here is the recipe, I hope that you enjoy it as much as we do!

1 9 inch pre-baked pie shell

Filling
1/4 cup of Corn Starch
1 cup of Sugar
1/2 teaspoon of Salt, because what is a Margarita without Salt?
1 1/2 cups of Margarita Mix, divided, I used Jose Cuervo
3 Egg Yolks, refrigerate the whites for a later use
1 Tablespoon of Margarine

In a large sauce pan, combine corn starch, sugar and 1/2 cup of Margarita Mix.  Beat egg yolks and combine with corn starch mixture.  Add the rest of the Margarita Mix and salt then whisk. You can substitute 1/2 of a cup of Tequila for 1/2 of a cup of Margarita Mix in this addition, but remember that only about half of the alcohol cooks out. So if people who should not be consuming alcohol are going to be eating this, stick with Margarita Mix, only. Bring mixture just to boiling over low to medium heat.  Simmer gently for five minutes, whisking constantly.  Remove from heat to thickened mixture.  Stir thoroughly until blender.  Pour into baked pie shell. Let cool.

Topping

1 cup of Sour Cream
1 cup of Powdered Sugar
1/4 cup of Coconut

Mix all ingredients with an electric mixer until blended.  Spread on top of cooled custard. Refrigerate until firm.

Cute Curly-Q's
1/4 cup of Sugar
1/4 cup of Water
strips of Lime Rind

Bring sugar and water to a boil in a small saucepan.  Let it reduce and thicken.  Once it is reduced by about half, add the lime rind.  Let the rind cook until the syrup starts to turn a light shade of green.  Remove and cool. Be careful the syrup can cause 3 degree burns! Once you are able to handle the rind, shape into curly-q's.  Let cool completely and arrange on the pie.
Slice and Enjoy!

Deloris

Printable Recipe: https://sites.google.com/site/basilandrosemarys/margarita-pie

Saturday, January 28, 2012

Cherry Crumble with Whipped Cream

Cherry Crumble with Whipped Cream
In addition to Pam Cooper being a wonderful cook, (see Pam Cooper's cheese log), she sells a line of candles.  The fragrances of the candles are intoxicating for a foodie like me. She had an Almond Cherry candle that smelled like a Cherry Crisp straight from the oven.  Needless to say, I am now enjoying a Cherry Crumble with Whipped Cream.  The only thing missing is the coffee and she probably has a candle with that fragrance, too.
I would have made my own cherry filling but the grocery store only had pre-made filling.  That just means I will  have to make it again and that will be a pretty good deal!
Pre-heat the oven to 350 degrees.

1 20 ounce can of Cherry Pie Filling
1/2 cup of Old Fashioned Oats
1/4 cup of Flour
1/4 cup of Sugar
1/4 teaspoon of Cinnamon
a dash of Salt
1/4 cup of Butter or Margarine (1/2 of a stick) plus additional to butter the pan
1/4 cup of natural Sliced Almonds
1 cup of Heavy Whipping Cream
1/4 cup of Sugar

Butter an 8" X 8" oven proof baking pan, pour in the Cherry Pie Filling and set aside.
In a bowl,  mix Old Fashion Oats, flour, sugar, cinnamon and salt.  Stir to combine the ingredients.  Chop the butter or margarine into small pieces and the cut into the oat and flour mixture with a pastry cutter or two knives.  The oats and butter should be about the consistency of peas.  Add the Almonds and use the pastry cutter to cut the almonds into the oats and butter.  Some of the almonds will break up.
Sprinkle the topping over the filling and place in the oven.  Bake at 350 degrees for 45 minutes or until the topping starts to brown. Remove from the oven and let it cool for at least 10 minutes.
 While it is cooling, pour cream into a metal bowl.  You can whisk the cream by hand or beat on high with an electric mixer.  Once the cream starts to foam on top, add the sugar, slowly.  Beat until the peaks will stand but are not stiff.  Be careful not to over beat the cream.  I have made sweetened butter when I was not paying attention ;).
Serve the Cherry Crumble warm with the Whipped Cream and Enjoy!

Deloris

PS: If you are interested in some delicious smelling candles, you can contact Pam at cooper_5_us@yahoo.com

Saturday, January 14, 2012

Blueberry-Saltine Tart

Blueberry-Saltine Tart
Before you think that I have totally lost my mind, hear me out.  The saltine crackers are the base of the crust.  I like to use saltines in place of graham crackers.  The crust has a lovely shortbread flavor with additional saltiness that compliments the cream cheese and blueberry filling. 
Preparation time is a little long because the crust has to be completely cooled prior to filling it.  Then the tart needs to be refrigerated until it is thoroughly chilled.  The actual time for blending, mixing, and assembling the tart is minimal.
This is a wonderful dessert! I hope that you try it.

Crust
2 cups of Saltine Cracker Crumbs, about 1 1/2 sleeves
8 Tablespoons of Butter, melted
1/4 cup of Sugar

Preheat oven to 375 degrees
Crumble crackers, about 1/2 of a sleeve at a time, into the blender and pulse until the crackers are fine crumbs.  Measure and repeat until there is 2  cups of fine cracker crumbs.  Return to the cracker crumbs to the blender and add sugar. Pulse several times and then pour into a bowl.  Pour melted butter over the cracker crumbs and mix thoroughly with a fork.  Press into a 12" tart pan that has a removable bottom.  Bake at 375 degrees for 9 minutes or until lightly brown. Carefully remove the pan making sure not to push up on the bottom.  Place on a wire cooling rack.  Let cool completely before filling.

Filling
Once the crust has completely cooled, make the filling

8 ounces of Cream Cheese
3/4 cup of Sour Cream
1/2 cup of Powdered Sugar

Beat together the Cream Cheese, sour cream, powdered sugar.  Using 2 large spoons,  one to collect the filling and one to scape the filling out, dollop the filling around the crust.  This will make it easier to spread.  Spread the filling evenly over the crust. Try not to let the filling rise off of the crust because it will pull the crust up, breaking it.

Topping

2 cups of Fresh Blueberries, washed and cleaned of stems, divided
3 Tablespoons of Cornstarch
1/2 cup of Sugar
1 cup of Water

In a small saucepan, place the 1 cup of blueberries, cornstarch, sugar and water.  Turn heat to medium and cook until it thickens to a glaze.  This will take about 30 minutes.  Stir often.  You will know when it is finished because the liquid will be thickened and look mottled on the spoon.  Add the rest of the blueberries and cook for another 5 minutes.  Pour over the cream cheese filling.

Place tart in the refrigerator to chill.  Let it chill at least 2 hours.

Enjoy this with a great cup of coffee!

Deloris

Wednesday, January 4, 2012

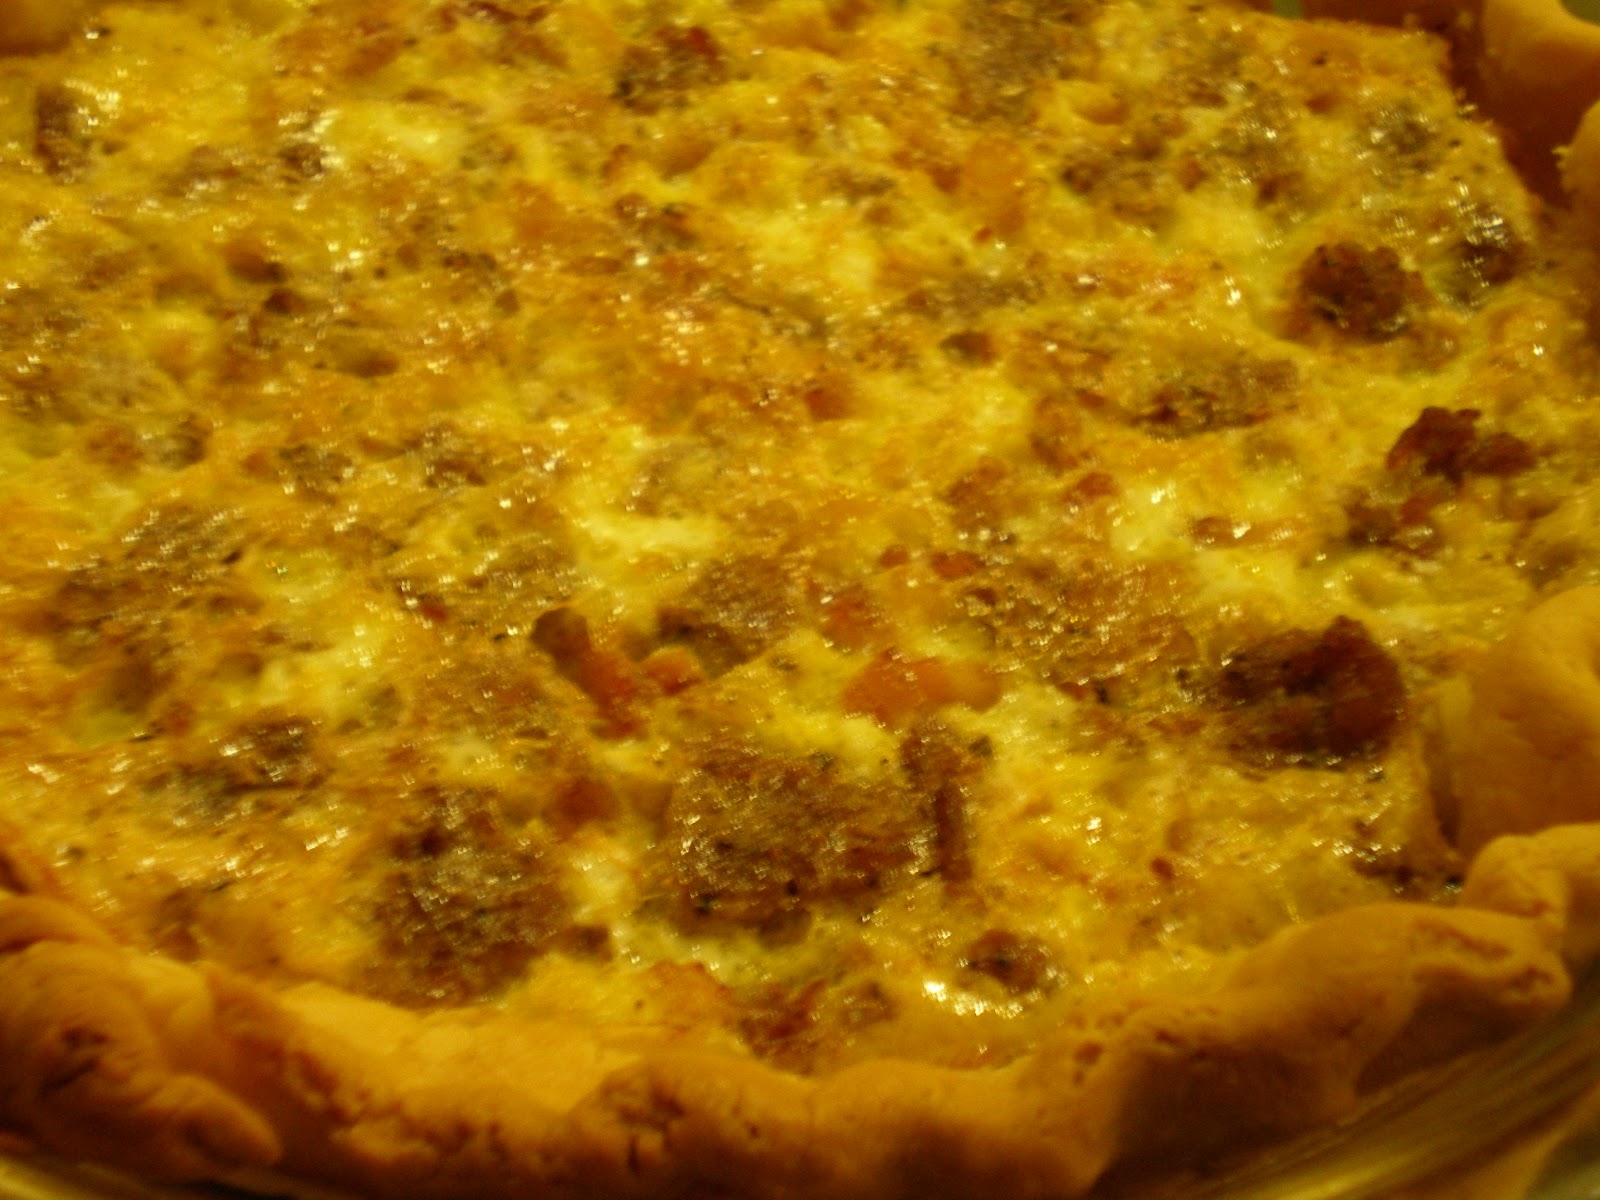
Bacon Sausage Quiche

Bacon Sausage Quiche
Have you ever had one of those days where everything went wrong and then when it was time to cook dinner, there was nothing thawed? 

Well, this is the meal for just that kind of day. 
I have to admit that I keep Pillsbury pie crust rolls in the refrigerator because, while I can make a flaky crust, this is just quicker and easier.  I usually have breakfast sausage and bacon, too.  So this just works. 
I use kitchen shears to cut the bacon in very small pieces before cooking it.  This helps to get the bacon crispy and a uniform size.
Preheat the oven to 425 degrees.

1 Pie Crust
3 slices of bacon, cut very fine
1/4 pound of Breakfast Sausage, (I used Jimmie Dean Brand)
2 Tablespoons of Margarine
4 Eggs

Butter a pie pan and place the pie crust in it. Set aside.
Cook bacon and sausage in a skillet until bacon is brown and crispy and the sausage is cooked.  Remove the meat from skillet and put it in a even layer in the bottom of the pie crust.  Try to leave the grease in the skillet.
Beat the eggs in a bowl with the margarine and pour over the meat in the pie crust.  The margarine will be lumpy and will not totally combine with eggs.
Bake at 425 degrees for about 25 minutes or until the eggs are cooked and set.  You can test the eggs with a cake tester.  When the tester comes out clean the quiche is done. Try not to let the eggs brown.  Let cool for a few minutes before serving.  Easy, easy!

Enjoy!

Deloris

Wednesday, November 23, 2011

Sweet Potato Pie

This is an old family recipe. My grandfather loved sweet potatoes and so did most of my family.  My mom had quite a few recipes with sweet potatoes. I hope you enjoy this one.

Preheat oven to 375 degrees.

1 1/2  to 2 cups of baked or canned Sweet Potatoes, mashed
1 cup of Sugar
2 Eggs
1 cup of Evaporated milk (Pet)
1/4 teaspoon of Cinnamon
1/4 teaspoon of Cloves
1/4 teaspoon Salt
2 Tablespoons of softened Butter
1 pie crust

Place pie crust in an 8" pie pan. Mix the first eight ingredients together and pour in pie shell.  Bake at 375 degrees for 35 minutes or until brown.  Once the pie has cooled, chill in the refrigerator. Store any leftover pie in the refrigerator.

Enjoy!

Deloris

Sunday, November 13, 2011

Fried Pear Pies

Fried Pear Pies
This is a treat that I recommend trying.  Yes, these are fried and coated with sugar but an occasional indulgence is not a bad thing.  It gets to be a bad thing when this sort of dessert is eaten, several times a week.
This is my mother's fried pie dough recipe and the dough for these is not the usual pie dough.  Because the dough is fried, the proportions in this recipe are different. I have tried the Crisco recipe for fried pies but it is too flaky.  Be sure to roll the dough out thin and coarse chop the pears so that everything cooks evenly.

The Dough

2 cups of Flour
1/2 cup of Shortening
1/2 teaspoon of Salt
1/4 cup of cold Water

Blend flour, salt,  and shortening together with a pastry cutter until the mix is crumbly and the size of small peas.  With a fork, mix in the water until the flour mixture becomes a ball.  Wrap in plastic wrap and refrigerate about 30 minutes.

Filling

Peel, seed, and chop 3 large, ripe Pears
toss with
1/3 cup of Flour
1/4 cup of sugar
1/4 teaspoon of Cinnamon

Assembling

Roll pie dough out on a clean surface.  Using a 3 1/2" glass, cut circles from the dough.  Place a small amount of pear filling in the middle of each circle.  Wet one side of the dough.  Fold the dough over to make a crescent and press to seal.  Press with a fork to make a light impression in the dough and then prick the top. Repeat until all of the dough and filling are used.

Heat oil in a frying pan or electric skillet to 300 degrees.  Carefully add the pies, one at a time, making sure that you do not crowd the pies.  You will have to cook these in batches unless you are using a large electric skillet.  Fry until golden and remove to paper towels.  Sprinkle with Cinnamon and Sugar.  Be sure to let these cool down before eating.

Friday, September 16, 2011

Peach and Strawberry Tarts


Summer is almost over but there are still some nice, fresh peaches available. These are a simple and delicious treat. 
All you need is this
2 packages of Pillsbury All Ready Piecrusts or other  brand of that type of pre-made pie crust
1 10 ounce container of Sweetened Frozen Strawberries, thawed with liquid
4 large Peaches, peeled, pitted and finely chopped
melted butter or margarine
sugar for sprinkling

Pre-heat oven to 350 degrees.  Spray two cookie sheets with vegetable spray and set aside.
Follow the piecrust package instructions when rolling out the crust.  Using a 3 1/2 inch cutter, cut out 14 circles from each crust.
Combine strawberries and peaches, placing about a teaspoon inside each piecrust circle.  Using water, dampen the edge of one side of the circle and seal.  Repeat until all of the circles have been filled and sealed.  Using a fork, lightly press the edges down. Brush with melted butter or margarine and sprinkle with sugar.
Carefully transfer to the cookie sheets and bake until lightly brown.
Let cool before serving or the filling will be too hot.

Enjoy!

Deloris

Monday, September 5, 2011

Mile High Peach Pie

Fresh peach pie
What can I say, other than, it is peach season in Texas.
You will need to preheat your oven to 375 degrees.

4 cups of peeled, pitted, and sliced fresh peaches
3/4 cup of sugar
1/4 cup of flour
1/4 teaspoon cinnamon
2 pie crusts, either homemade or purchased
1 Tablespoon butter, melted
enough sugar to sprinkle on top

Using a vegetable spray, coat the bottom of an 8 inch pie plate. Place 1 of the pie crusts, carefully centering it.  If it develops any tears or holes, use a little water on your fingers to press it closed.
Gently toss peaches, sugar, flour, and cinnamon, making sure to coat the peaches as evenly as possible.  Pour peaches into the pie crust in the pie plate and top with the seconded pie crust. Dampen the edges of the first crust with water, fold the edges of both crusts together and crimp.  Using a fork, prick the top of the crust in several places to release steam as it cooks.
Brush the top with butter and sprinkle with sugar.
Bake for 45 to 55 minutes. Remember to shield the edges so that the crust does not burn.
Let the pie cool before serving.  I like to serve it slightly warm with heavy cream on the side.

YUMMY!

Enjoy,

Deloris